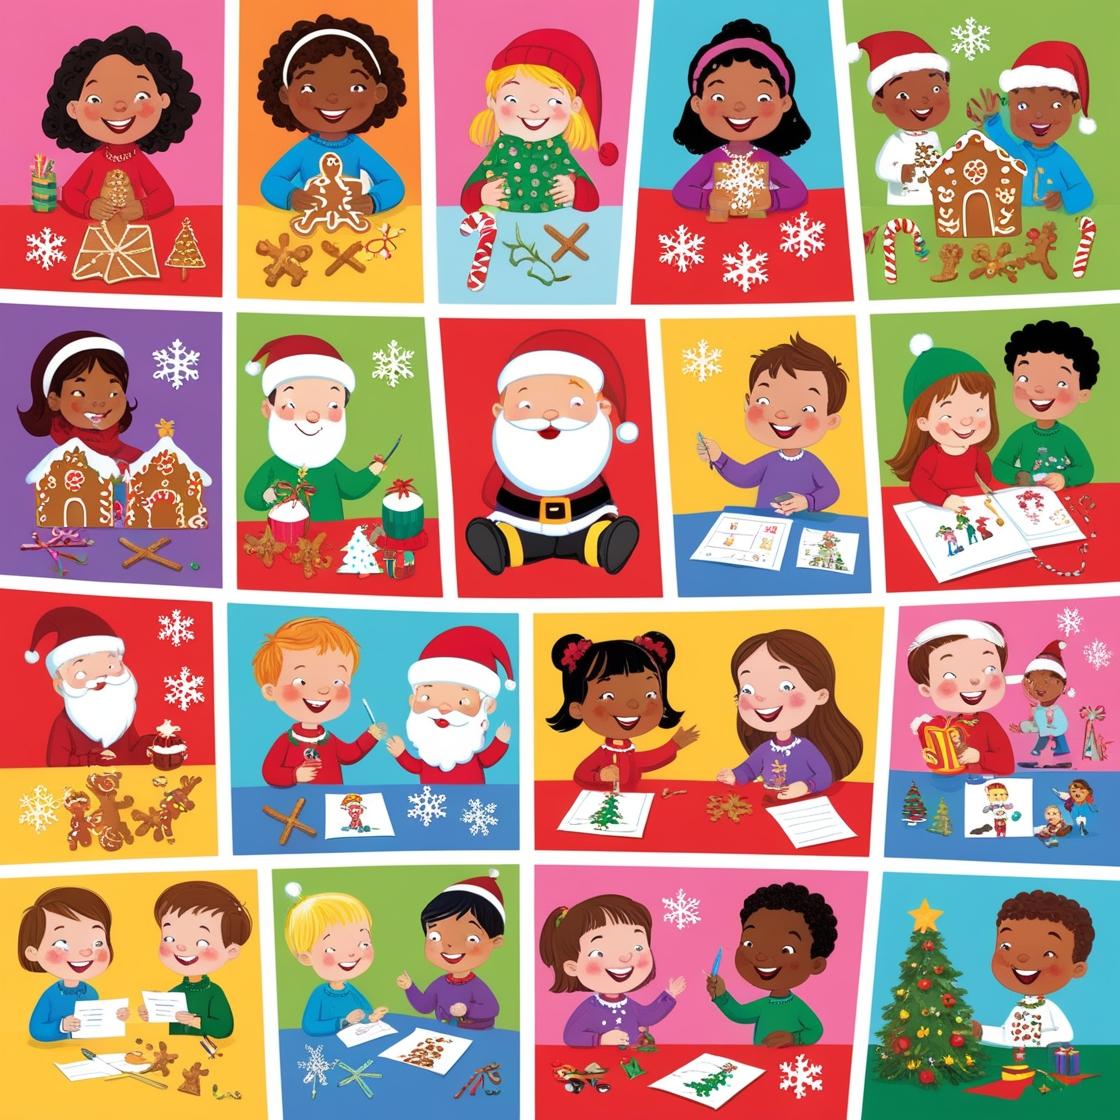
With the holiday season fast approaching, it’s time to start thinking about creative ways to keep the little ones entertained! Whether you have toddlers, elementary school kids, or tweens, these activities are designed with age-appropriate fun in mind. In addition, I’ll expand a few into full DIY tutorials to make your holiday season even easier. And, of course, I’ll refine the tone to be more professional and instructional for parents, teachers, or caregivers looking for structured guidance.
Age-Appropriate Activities
Here’s a breakdown of the most suitable activities for different age groups to ensure fun and safety while still fostering creativity and joy.
Ages 2-4 (Toddlers):
- DIY Holiday Ornaments
Keep it simple with paper cutouts or foam shapes. Pre-cut shapes of stars, snowmen, and trees can be decorated with stickers, crayons, and washable markers. - Indoor Snowball Fight
Use soft cotton balls or rolled-up socks to ensure safety. You can even turn it into a counting game—encouraging toddlers to count “snowballs” as they throw them! - Create Your Own Holiday Cards
Stickers and washable paints work best for this age group. Allow them to stamp or stick on holiday-themed items.
Ages 5-8 (Elementary School Kids):
- Gingerbread House Decorating
Let them help build the house, but focus on the fun of decorating with icing and candy. They can also make mini gingerbread houses using graham crackers! - Holiday Movie Marathon
Engage them with trivia or bingo cards where they mark off holiday-themed items (snowflakes, Christmas trees) that appear in the movie. - Write a Holiday Story Together
For this age group, take turns adding sentences to create a fun and silly holiday tale. They can illustrate the story with crayons and markers afterward!
Ages 9-12 (Tweens):
- Holiday-Themed Baking
Older kids can help with more complex tasks like measuring ingredients and using cookie cutters. Let them experiment with decorating cookies or even create a baking contest! - Candy Cane Science Experiment
Tweens can understand and enjoy basic science experiments. Challenge them to hypothesize what will happen to candy canes in different liquids and write down their observations. - DIY Holiday Puzzle
Tweens can design their own puzzles by drawing more intricate holiday scenes on sturdy cardboard. Once finished, they can cut the designs into puzzle pieces to challenge friends or siblings.
Expanded DIY Tutorials
Let’s dive into full, step-by-step instructions for some of these activities.
DIY Holiday Ornaments Tutorial (Ages 5-12)
Materials:
- Cardstock or colored foam sheets
- Markers, crayons, glitter
- Craft glue
- String or ribbon
- Scissors (for adult use or tweens under supervision)
Instructions:
- Prep Materials: Pre-cut shapes like stars, Christmas trees, and snowflakes. For older kids, let them trace and cut their own designs.
- Decorating: Provide a variety of craft supplies—glitter, markers, stickers, etc. Have the kids decorate each ornament using their own designs.
- Punch a Hole: Once the ornament is decorated and dry, punch a small hole at the top of each shape.
- Add the Ribbon: Thread ribbon or string through the hole and tie a loop at the end for hanging.
- Display: Hang them on the Christmas tree or string them together for a festive garland!
Pro Tip: For longer-lasting ornaments, consider using salt dough (a mix of flour, salt, and water) which can be baked and then painted.
Candy Cane Science Experiment Tutorial (Ages 9-12)
Materials:
- Candy canes
- Clear cups
- Water, vinegar, oil, and soda
- Timer
- Notebook and pen for observations
Instructions:
- Setup: Place a candy cane in each cup and fill each cup with a different liquid (water, vinegar, oil, soda).
- Hypothesize: Ask the kids to predict which liquid will dissolve the candy cane fastest and why.
- Experiment: Start the timer and observe what happens to the candy canes over the next 10-15 minutes. Ask the kids to record what they see in intervals (5 minutes, 10 minutes, 15 minutes).
- Conclusions: After the experiment, compare the candy canes. Which liquid dissolved it fastest? Which kept it mostly intact? Discuss why these reactions happened (hint: water dissolves sugar faster than oil!).
Create Your Own Holiday Cards Tutorial (All Ages)
Materials:
- Cardstock or construction paper
- Markers, colored pencils, crayons
- Holiday stickers
- Glue, glitter, buttons (for older kids)
Instructions:
- Fold the Card: Start with a piece of cardstock folded in half to create a greeting card shape.
- Design the Front: For toddlers, simple hand-drawn pictures or stickers work well. For older kids, encourage them to design their own unique holiday scene—Santa, reindeer, or a snowy landscape.
- Add a Message: Inside the card, help younger children write simple messages like “Happy Holidays!” or “Merry Christmas!” For tweens, encourage them to write a personalized note for family or friends.
- Decorate: Let them add glitter, buttons, or holiday-themed stickers to enhance their cards.
- Gift or Mail: Encourage them to send the card to someone special, like a grandparent, relatives, teacher, or neighbor!
Pro Tip: Encourage kids to write a few cards to people in nursing homes or military service members to brighten their holiday season.
The holiday season is a time for togetherness, joy, and creating unforgettable memories. With these activities, you’re not only filling your days with fun but also helping your children grow through creativity, teamwork, and learning. Whether it’s building a snowman, baking festive treats, or crafting unique ornaments, each moment spent together strengthens bonds and fills hearts with the warmth of the season.
As you celebrate this magical time of year, remember that the greatest gift you can give is the gift of time and shared laughter. Here’s to a holiday season full of creativity, joy, and family traditions that will be cherished for years to come! 🌟✨
Wishing you and your family a holiday filled with peace, love, and of course—plenty of festive fun! 🎅🎁💫
Happy Holidays! 🎄

